Ballard's Poker Table Corner
Journal of Ballard's poker table building
-
2008-11-06 06:58:50
Building My First Poker Table
I'm making my first poker table! This table will be a Junell style with:
- Green vinyl padded rail
- Oak racetrack
- Black nylon velvet playing surface
- Slide in plastic cup holders
I decided that instead of just building it, I would take pictures and let everyone follow along. If anyone else is interested in building their own table, the instructions on Junell's site are AWESOME! There is also a forum for table builders that is a great resource. So far, every single question I've had about building my table I've been able to get answers from the forum just by doing a search. I haven't even had to post there yet at all. I figure I'll post the final pictures of my completed table on that forum and thank everyone there for their great help.
Primary Materials
You will need these supplies:
- 2 sheets of 3/4" Birch plywood
- 1 sheet of 1/2" Oak plywood (for racetrack and playing surface)
- 3 yards black nylon velvet
- 3 yards green vinyl
- 1 sheet of 1" premium rail foam
- 1 sheet of 1/4" closed cell foam (for playing surface)
- Minwax satin polyurethane
Tools
Make sure you these handy:
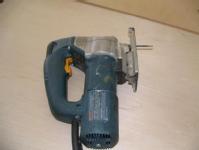
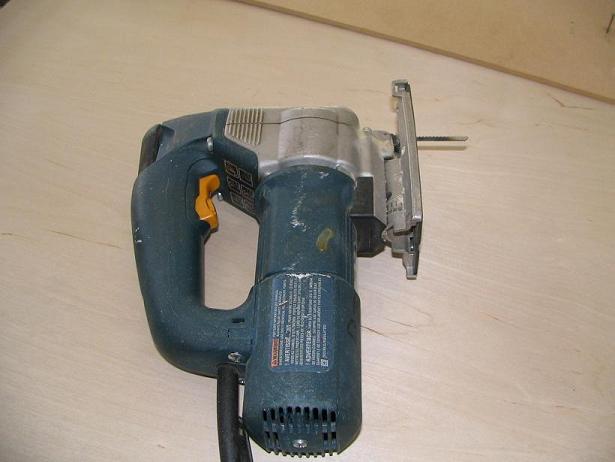
- Jigsaw (thanks Kerry!!!)
- Drill
- Electric stapler
- Razor blade knife
- Hammer
- Screwdriver
- Sanding tool
- Metal ruler and t-square
Making the Cut
Now that you've got all your materials and tools, it's time to break out that jigsaw and make your first cuts!
I started with a single sheet of 3/4" Birch plywood.
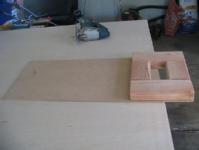
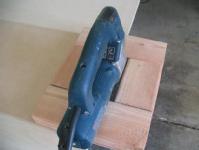
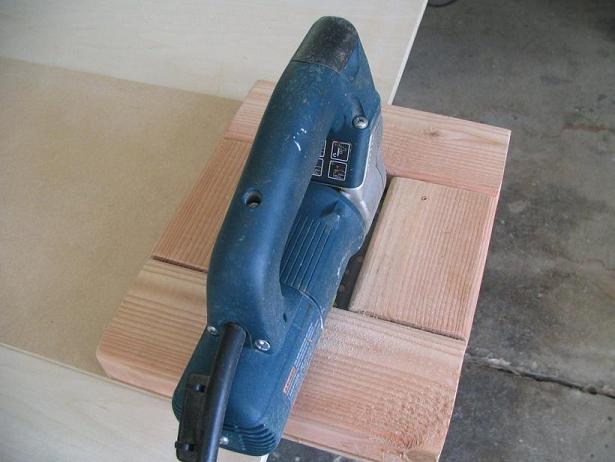
I needed to cut arcs around each end of the plywood to create the oval shape for the table. In order to make clean cuts, I build this jig.
I measured out the 24" needed for the arc and then slightly hammered a guide nail into the end center mark on the plywood.
Kerry kindly donated an awesome Jigsaw for this!
The jigsaw sits in the jig like so.
Then you just move the jig around the table, which makes for a nice clean circular cut.
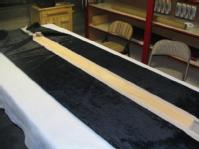
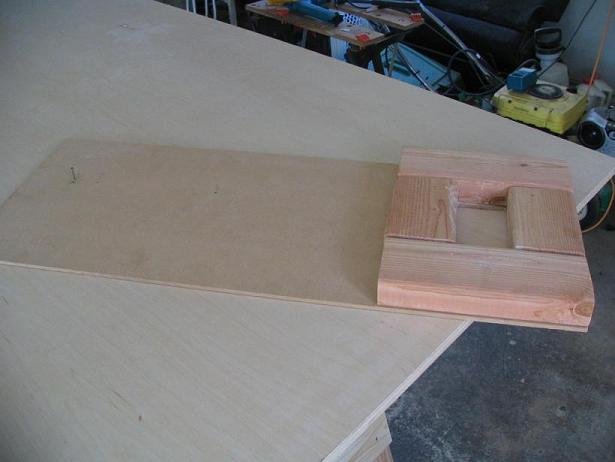
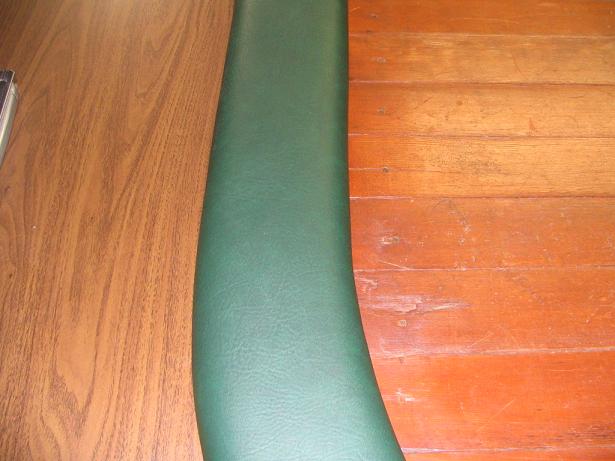
Big gap in the pictures here. I wasn't actually taking any pictures until pretty far in the process. Below is a couple shots of the rail. This is a 4" wide oval cut of the 3/4" plywood with a 1.5" oval cut of the oak plywood glued and screwed onto it:
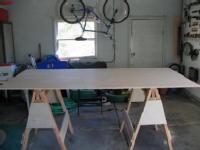
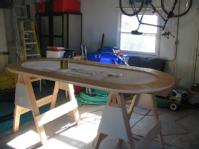
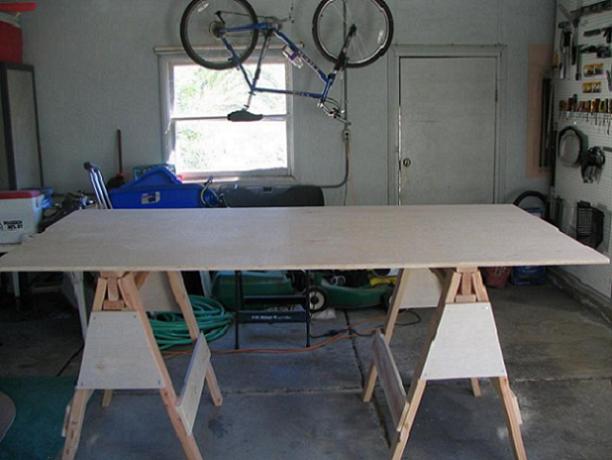
At this point, my back was starting to really bother me because I was using some existing sawhorses we had that were only 25" tall. I decided that was unacceptable, so I went online and found some plans for sawhorses and built my own "Ballard sized" ones:
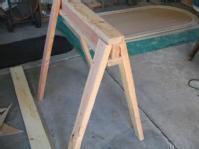
I used the extra 3/4" plywood left for the side supports for the sawhorses:
The mostly finished sawhorses:

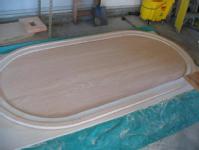
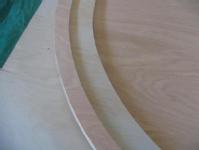
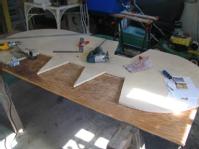
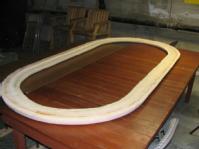
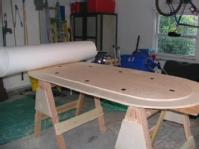
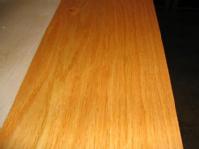
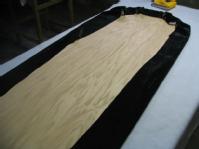
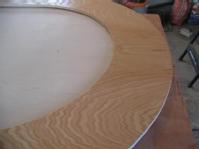
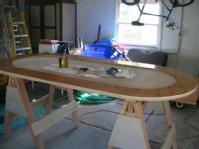
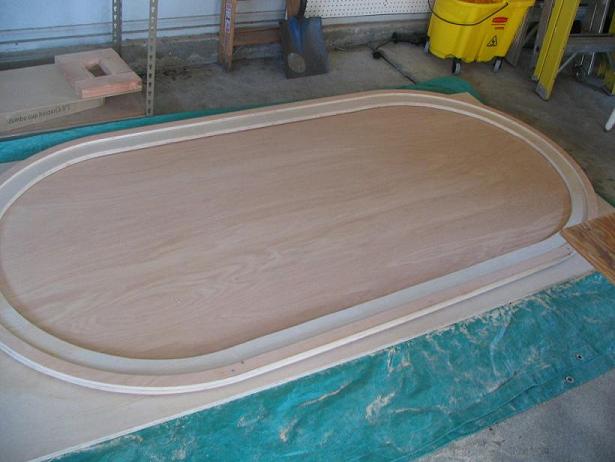
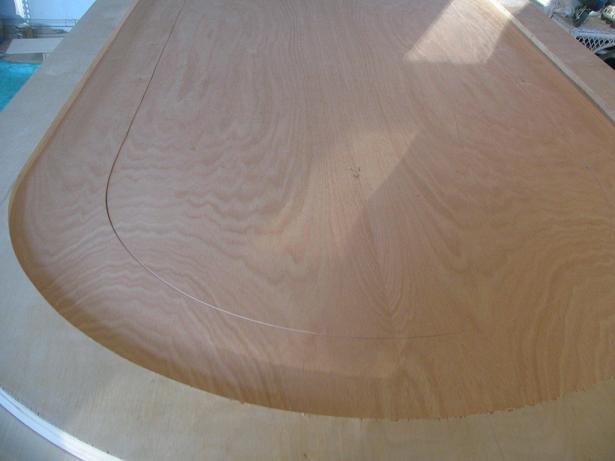
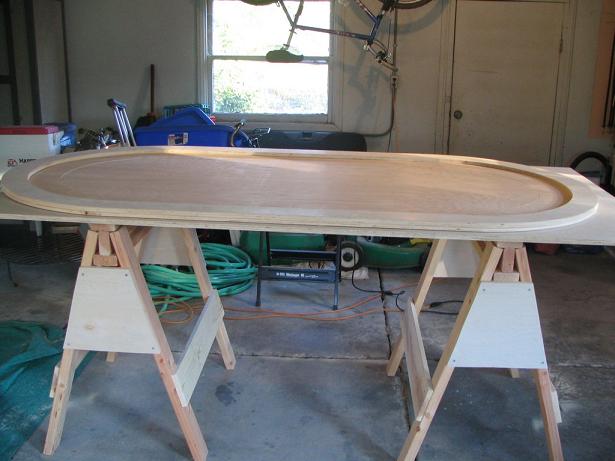
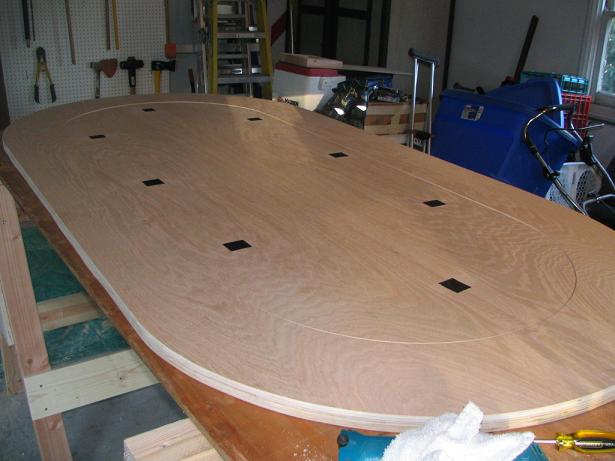
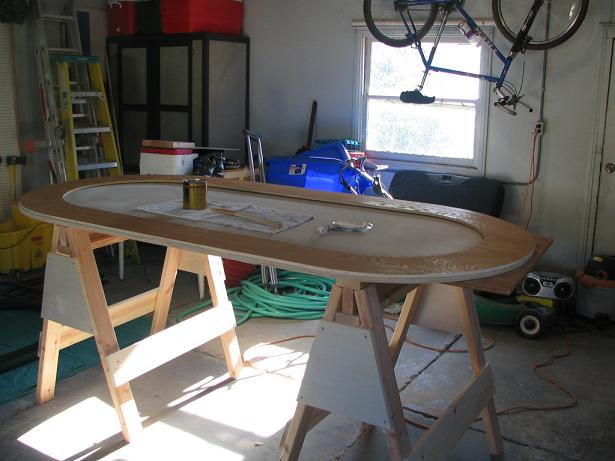
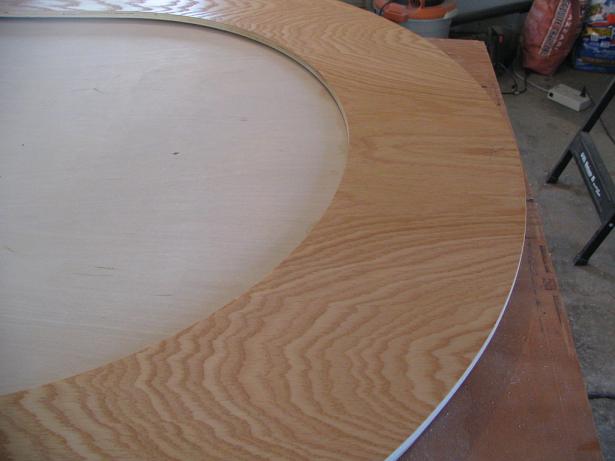
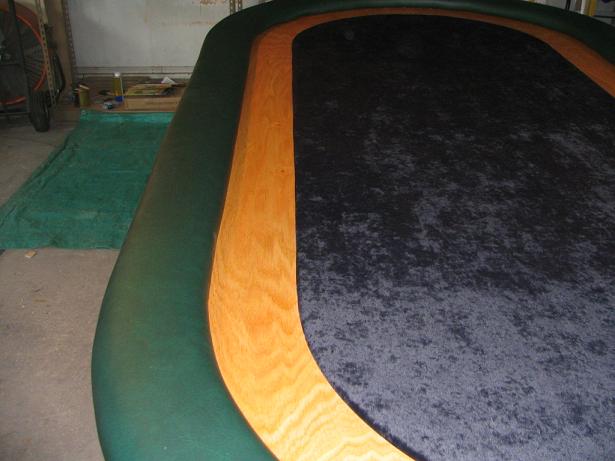
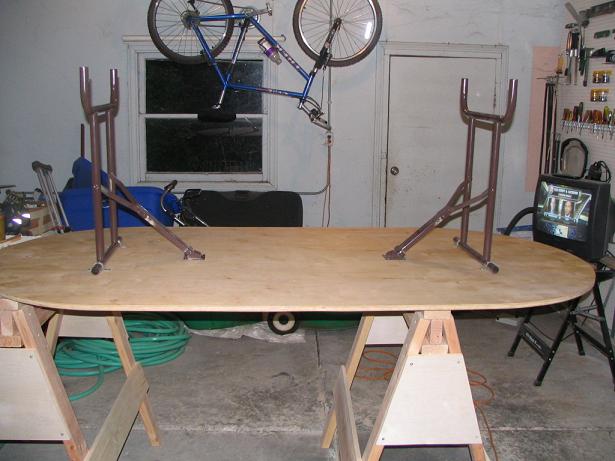
Now it was time for the most important cut I had made to this point. I needed to cut the racetrack out of the rest of the oak plywood. 4" or so of this oval ring will sit under the rail, and the remaining inside 5" will be the exposed racetrack. The inside cut of this oval ring will be visible (unlike any of the other cuts I had made to this point). The center oval will be covered with the nylon speed cloth and will be the main playing surface.
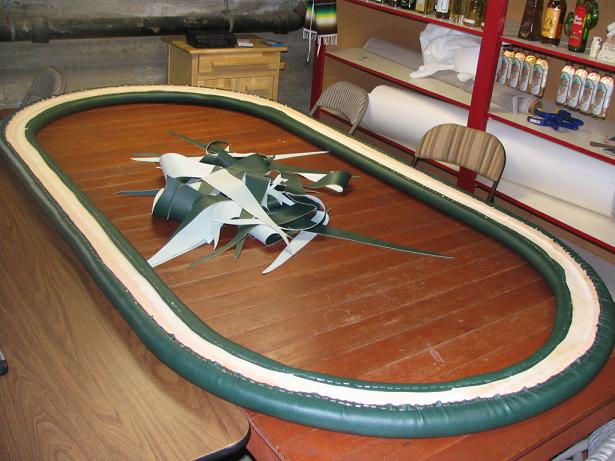
Here are a couple shots of the racetrack and playing surface with the rail placed around the outside. I must have warped the 1.5" ring when I was gluing it onto the rail, as it would not initially fit around the racetrack (it should have, it was cut from the same plywood piece). I just needed to sand down the outside of the racetrack piece a bit to get it to fit properly:
Foam time
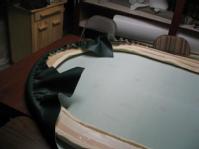
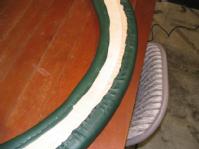
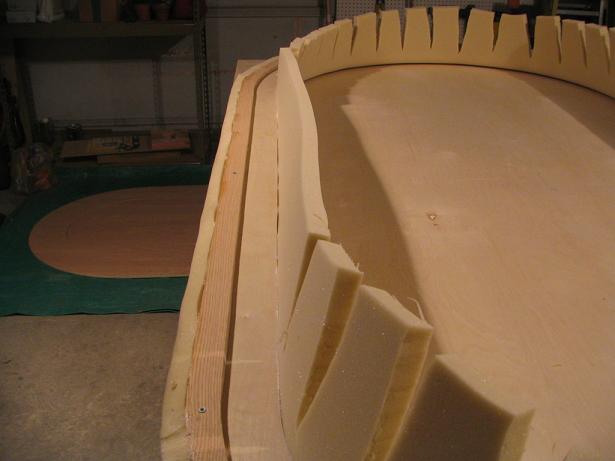
Now it's foam time! I laid the rail upside down on top of a large sheet of 1" foam. I used spray adhesive to pull that foam up around the sides of the rail, then cut off the excess. You have to cut the foam along the arcs so that it will fold up ok on the inside.
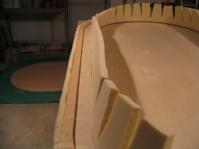
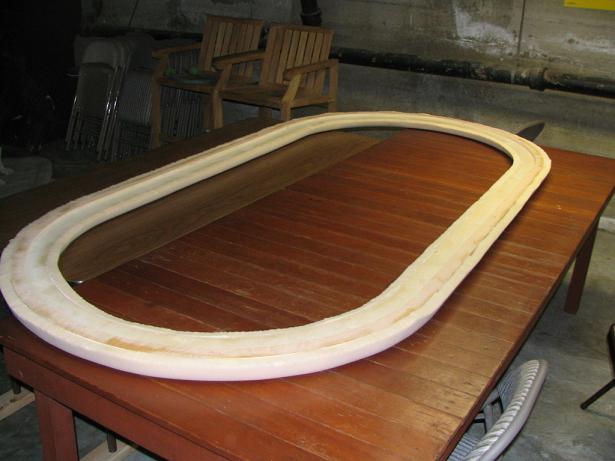
The rail with the excess foam all trimmed away:
Now it's time to put the vinyl around the rail wood and foam. I laid the vinyl upside down and then the rail upside down on top of it.

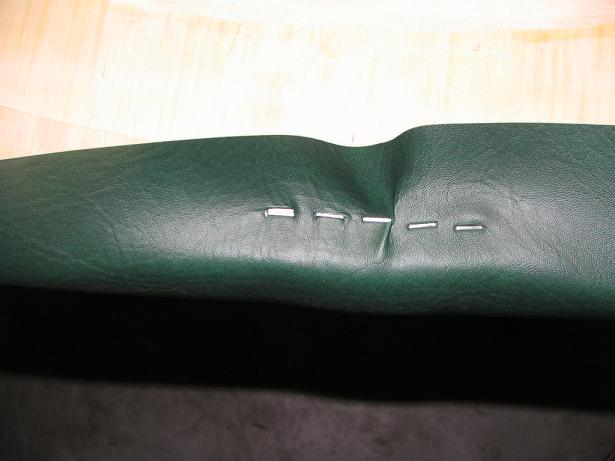
A close-up of the first few staples to hold down the vinyl. Thank god for the electric staple gun!
Here's the first arc all stapled down on one side.
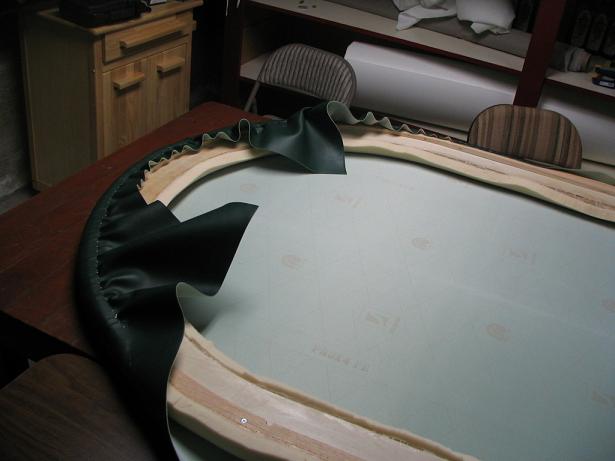
Top view of the vinyl after the outside had been completely stapled down.
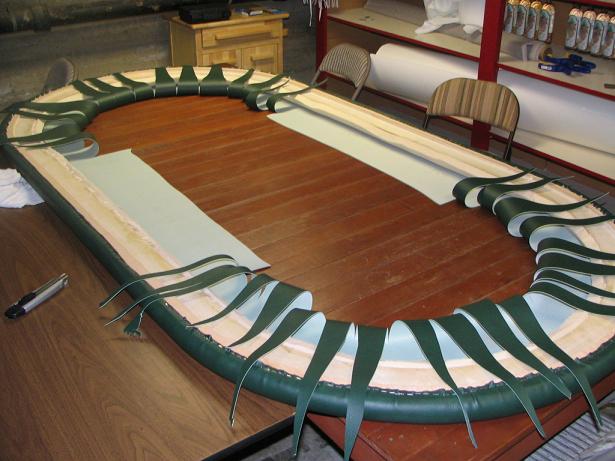
I flipped the rail upside down again and cut out a section of the vinyl from the middle. Like with the foam, you need to cut strips of the vinyl in order for it to pull around the rail correctly.
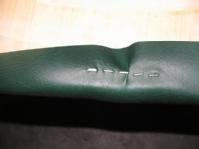
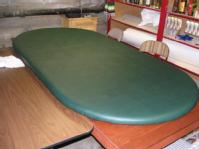
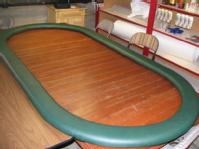
The rail after it has been fulled stapled and the excess vinyl trimmed away.
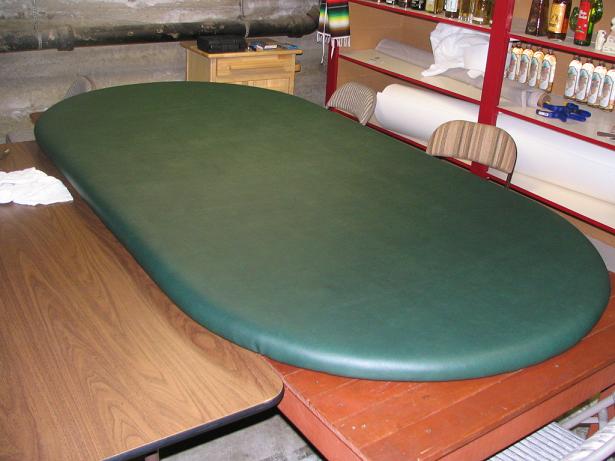
The top of the completed rail. I'm really happy with how it came out. It's not perfect, but looks pretty damn good.

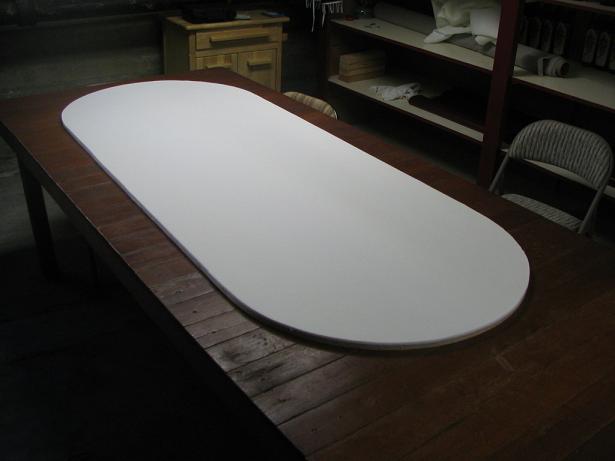
The Playing Surface
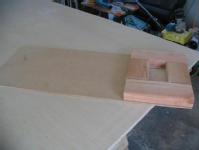
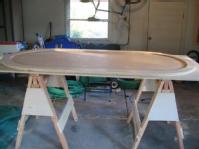
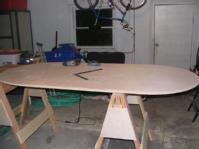
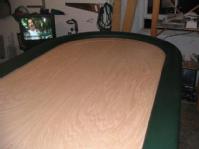
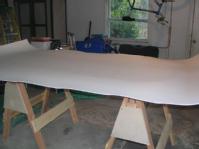
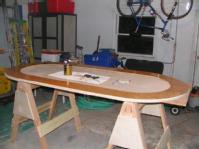
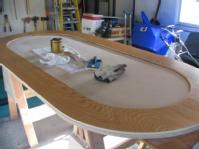
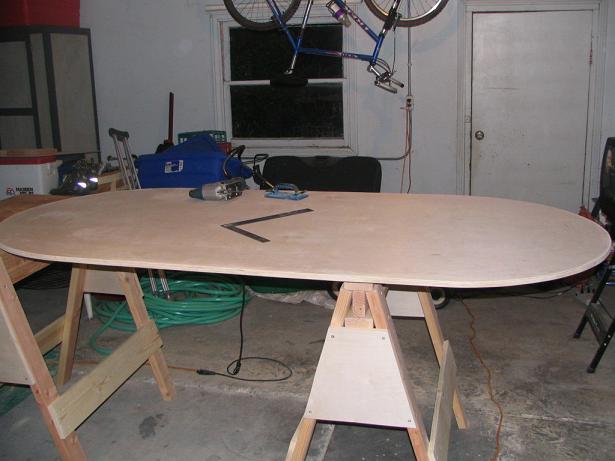
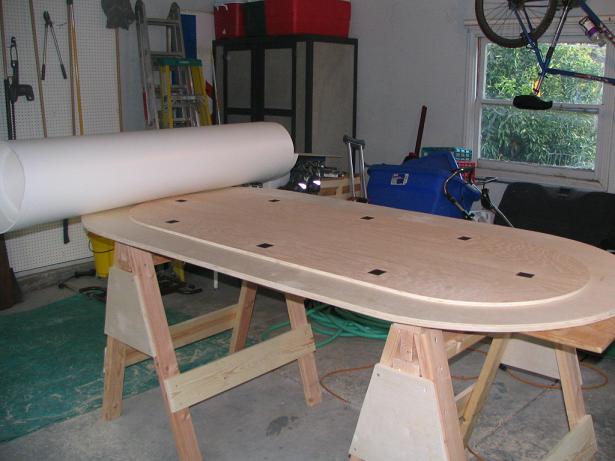
Now that the rail is done, it's time to get the baseboard all set. This shot is just after cutting it, all the rest of the parts will sit on top of this.
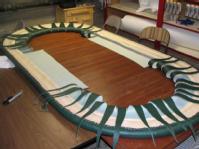
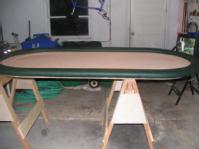
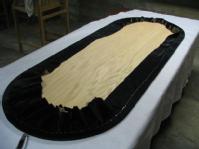
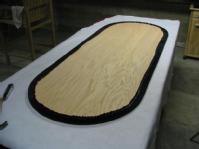
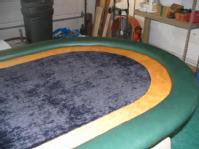
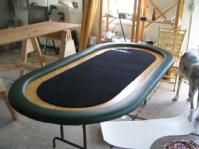
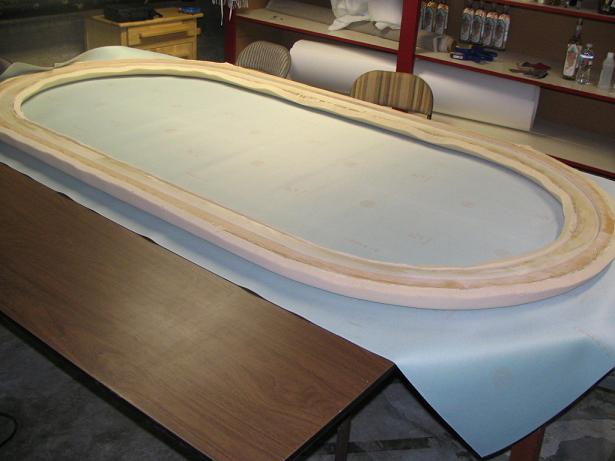
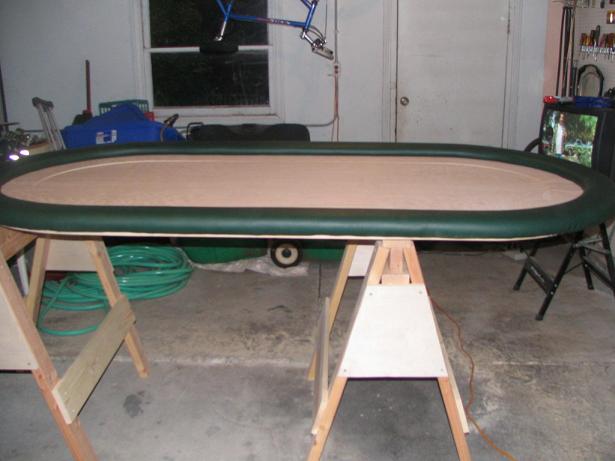
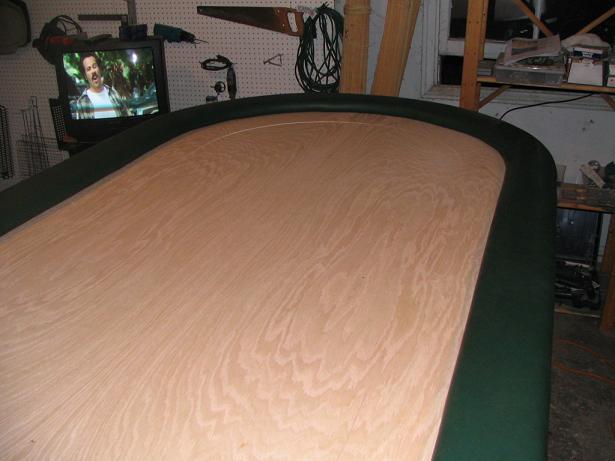
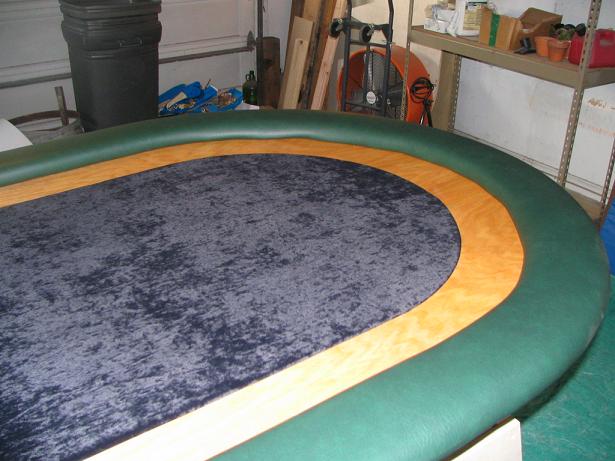
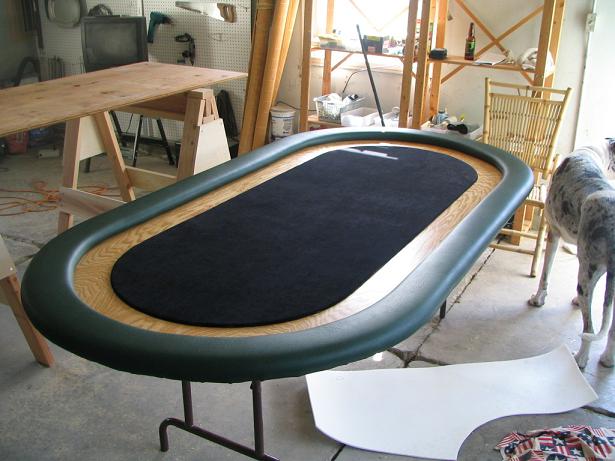
Here's a couple shots with the playing surface, racetrack and rail all sitting on top of the baseboard:
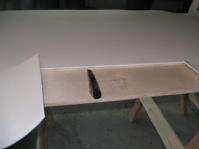
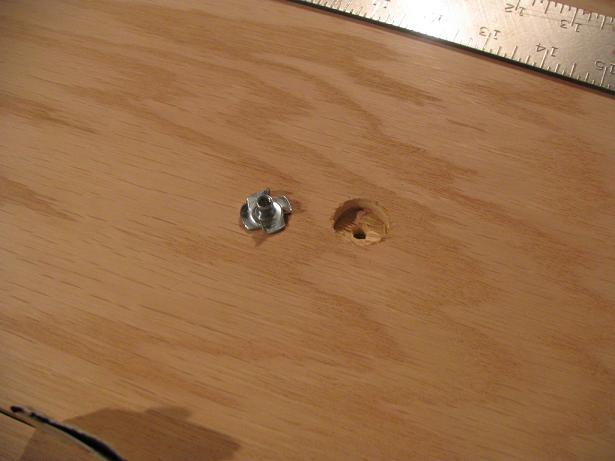
The playing surface needs to be attached to the baseboard, so I lined up the racetrack and playing surface on top of the baseboard, then clamped them together. I drilled 8 holes around the edges of the playing surface, then used a spade bit to drill the shallow hole you see here:
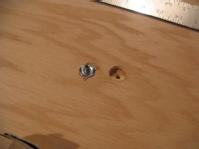
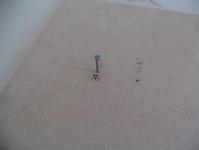
The T-nut sits in the shallow hole, so that you can screw a bolt in from underneath the baseboard. Had to do a little extra work to get those nuts ready for the bolts. A 1 1/4" bolt is slightly too long and would stick up (and therefore push up the foam under the cloth on the playing surface). However, the 1" bolt won't reach the bottom of the nut to catch on the threads. So I had to use the 1 1/4" bolt, screw it all the way down tight, so that it would pull that T-nut down into the wood in the bottom of the shallow hole. Then I unscrewed the 1 1/4" and was then able to get the 1" bolt to catch just fine (and of course, had to do all that 8 times!).
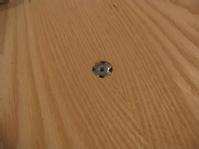
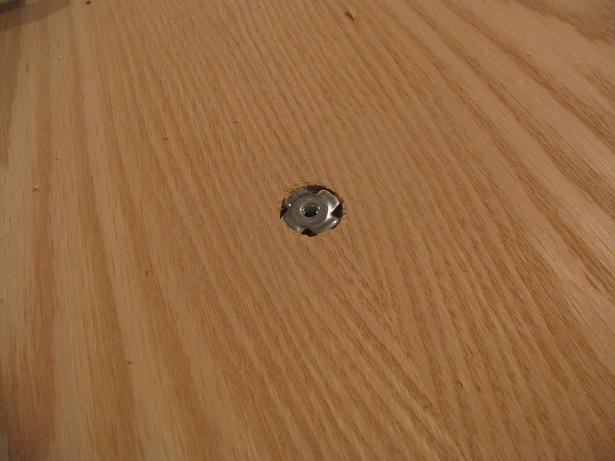
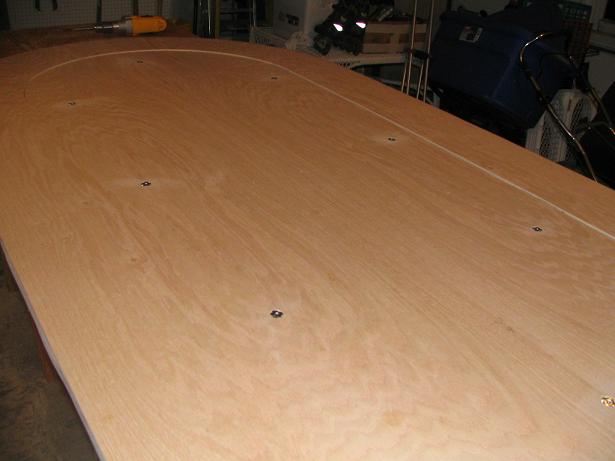
The T-nuts sitting flush on the table.
To make sure that the foam doesn't sink into those holes at all, I covered each with a small piece of duct tape.

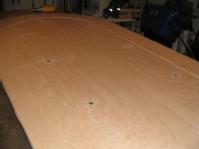
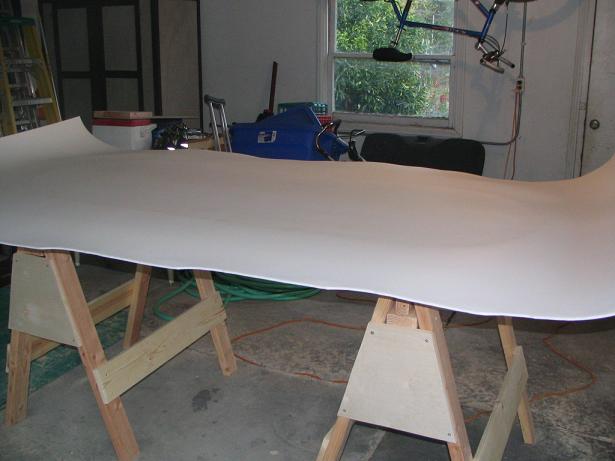
Foam time! I used the last of my spray adhesive, and I actually was a bit nervous, since I ran out before I put as much adhesive on as I wanted. I don't think that had anything to do with my bubble issue though (see farther down), since I covered the outer edge of the playing surface with glue first. I just didn't have enough to cover the center of it as well as I would have liked.
Here's the foam laid over the spray adhesive on the playing surface.
After letting the adhesive sit for a bit, I started cutting away the foam from the edge of the wood.
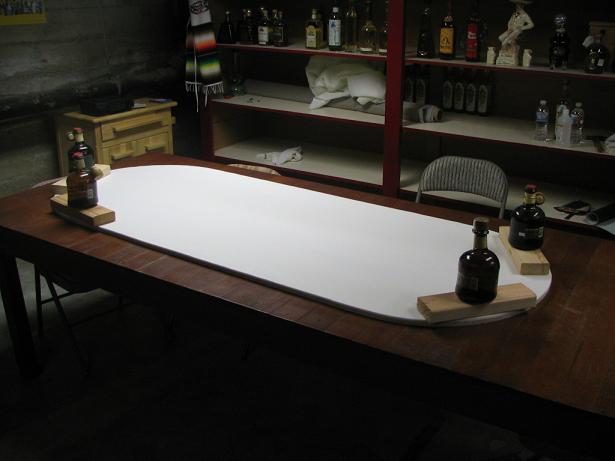
So after I was done cutting away the foam and it had sat a while, I got a few bubbles and irregularities on the foam around the outside edge. I figured I'd weight it down a little bit and let it sit over night to see if that will help get rid of it. Pushing on it with my hands wasn't doing anything. I think it will still be fine even if it stays the way it is, but hopefully this will help a bit. I just used whatever was handy for the weights. :)
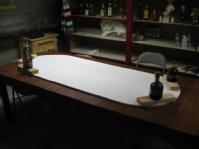
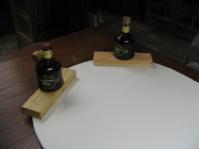
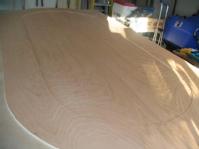
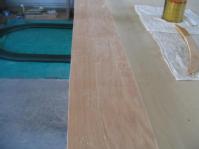
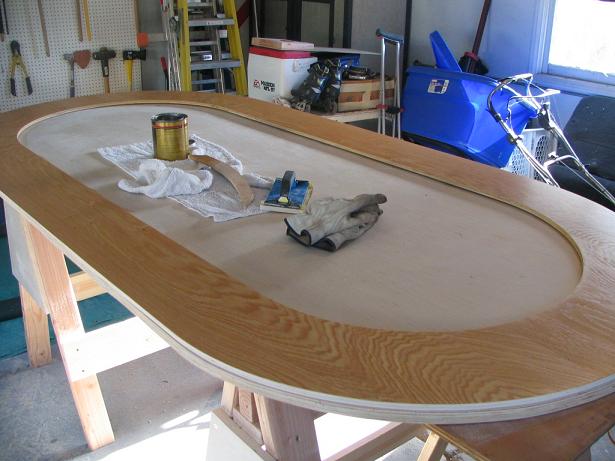
Time for the first coat of polyurethane on the racetrack! I used the foam brushes you can see in the first pic. I was nervous doing this, since this is the wood that everyone will see, but the poly went on pretty easily. Junell's instructions say to get down to the level of the surface to see where you missed and he was spot on with that! Once you get down and look straight across it, you can see any little spot you missed.
Looking pretty good! Only 4 more coats to go after this first one.

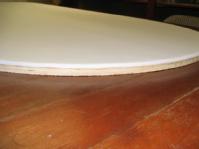
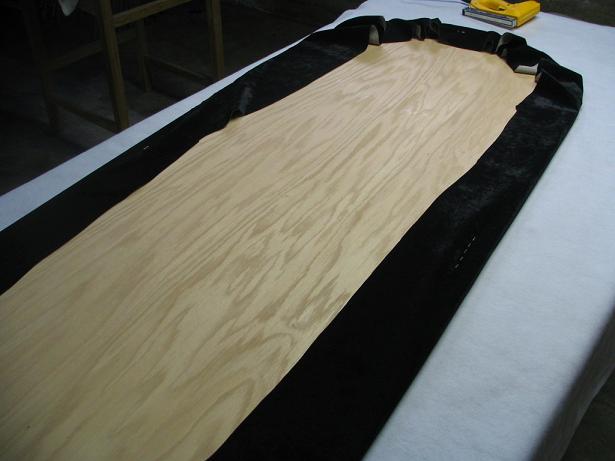
Ok, time to cover the playing surface. Putting some weights over the bubbled areas of the foam actually worked great, the foam surface looks MUCH smoother now.

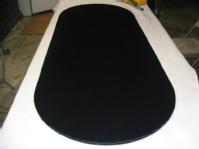
Here's the black nylon velvet folded over the top of the playing surface, ready for stapling.
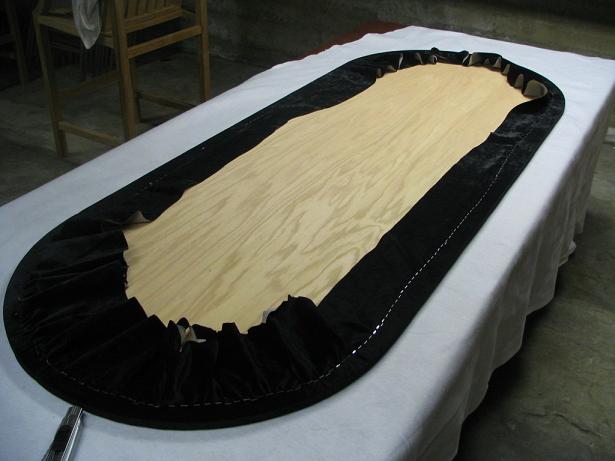
I stapled a bit on each side, then a bit on each end. I also trimmed away the majority of the extra material so I could work with it a little better as I stapled the rest.
I've said it before and I'll say it again, thank god for electric staple guns!
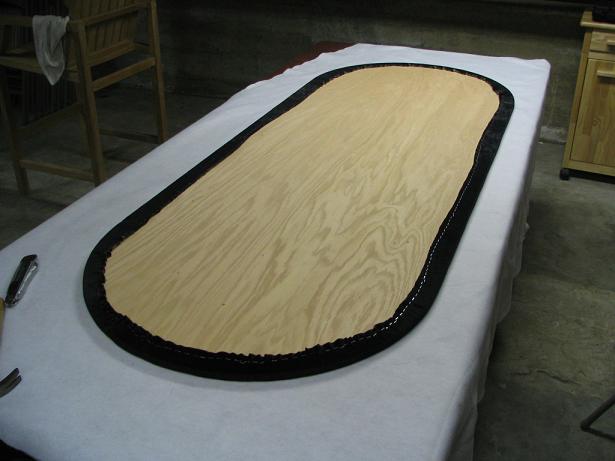
Trimmed away the rest of the excess material once it was fully stapled down.
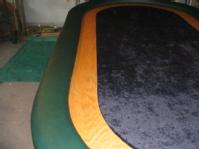
Here is the finished playing surface! I sat down and did some dealing over it. The cards slide well, but I'm actually a little disappointed in this cloth, I think I'll need to try a different kind for the next table.
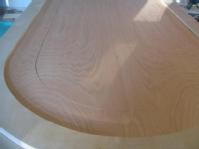
Back to the poly on the racetrack. Here's what it looked like once the first coat had fully dried.
So once the poly dried, I sanded it down with a fine sandpaper (180 grit this time).
I cleaned off the sawdust with a rag, then went slowly over the whole surface with a tack cloth to get rid of any little bits on there. Here's a shot just after I applied the 2nd coat of poly.
This is after the 3rd coat of poly has dried.
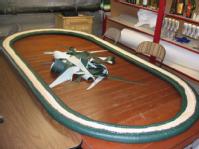
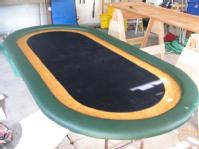
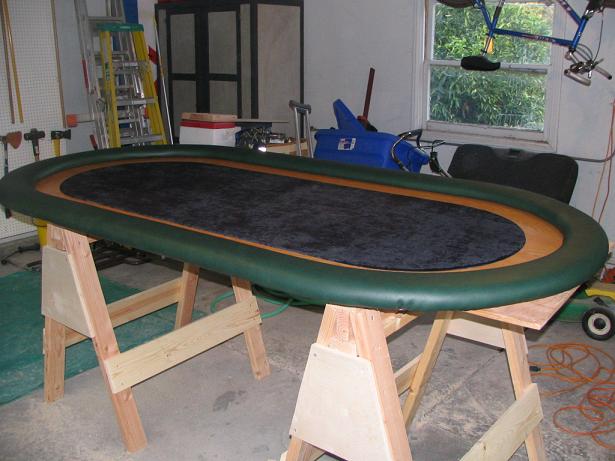
Couldn't resist putting it all together temporarily after the 4th coat of poly dried today.
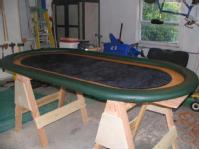
Overall, I'm very happy with how its coming out.
Although, you can see here the rail isn't as tight as I would like. I'm going to use a different vinyl next time that stretches a bit more. I think the stuff I used this time was too thick.
Two more coats of poly to go on the racetrack, then one coat on the bottom of the baseboard and then it will be time to put it all together for good and attach the legs!
Final Steps
I put one coat of poly on the bottom of the baseboard, then it was time to attach the legs. We recently bought a new 8 foot folding table for my wife for her quilting, so we had an extra 6 foot table left. I just stole the legs of off that folding table.
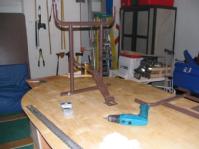
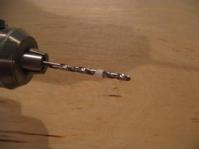
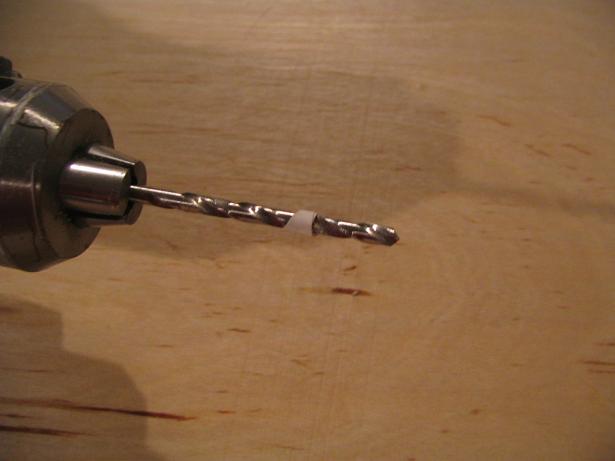
I needed to drill a hole for each wood screw, otherwise the screw would likely warp the wood around it a bit. I had to be extremely careful not to drill too far and go all the way through the baseboard though. I just used a small piece of sticker material to mark the spot on the drill bit for how far down I needed to drill.
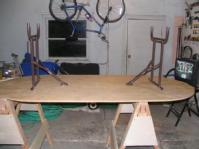
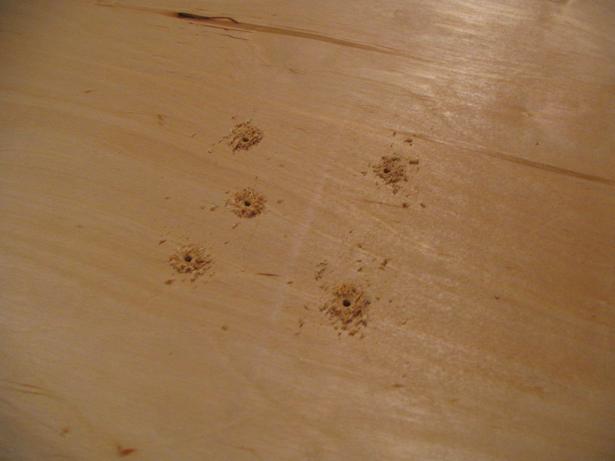
The five drilled holes for the center piece of the leg attachment.

Ok, legs all attached!
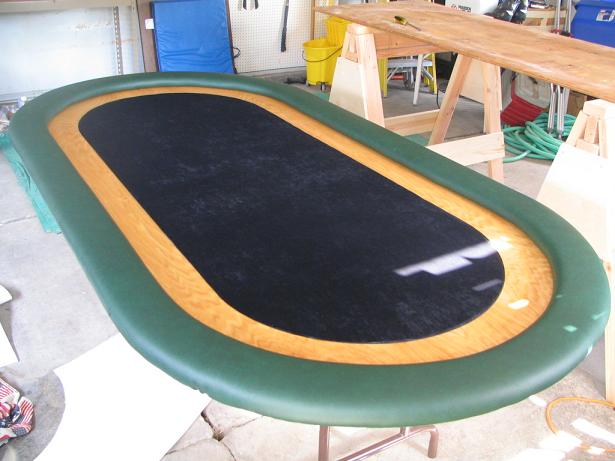
I decided 5 coats of poly on the racetrack looks and feels just fine, so I'm done! Here's the table all together.
Ok, maybe not 100% done. Two more things I want to do: Add some sort of handles to the bottom of the table to make it easier to move & pull the staples out and repull/restaple a couple more little sections of the rail vinyl to get out more irregularities. It's definitely playable at this point though.


Comments on “Building My First Poker Table”


Contributors

Feeds

Recent Entries
- Poker Table #3 - Getting ready to route on 2012-03-01 04:57:12
- Poker Table #3 - New tools on 2012-02-28 18:51:55
- Poker Table #3 - Black and Orange baby!! on 2012-02-25 01:42:18
- Poker Table #3 - Ballards got wood! on 2012-02-24 06:16:40
- Poker Table #3 - Full results of color survey on 2012-02-23 22:15:27